Having your own blog, whether for personal use or to promote a small business, is increasingly popular. Many people mistakenly believe they have to be a Web expert in order to create a blog. This is not the case. In fact, a beginner can just as easily install a WordPress blog than anyone else. The purpose of this guide is simple – to help you install your WordPress blog on a unique domain name of your choice in less than 15 minutes.
Follow the steps below, and you will be ready to publish your first article on the web in a couple of minutes.
If you want to create an eCommerce site to sell stuff online, read our How to create an online store with Shopify guide instead.
How to create my blog with WordPress?
For the purposes of this guide to create a WordPress blog, we will assume that you are starting from scratch – without a domain name and without a web hosting service – and therefore, we suggest you the web hosting company WHC.ca, that costs as little as $3.95 per month if you pay for 36 months (these are the only fees you will have to pay to get your blog online today). With WHC, your domain name will be free.
Guide to create a WordPress blog step by step
Here are the steps to create your first blog with WordPress:
1. Choose my domain name and create my web hosting account
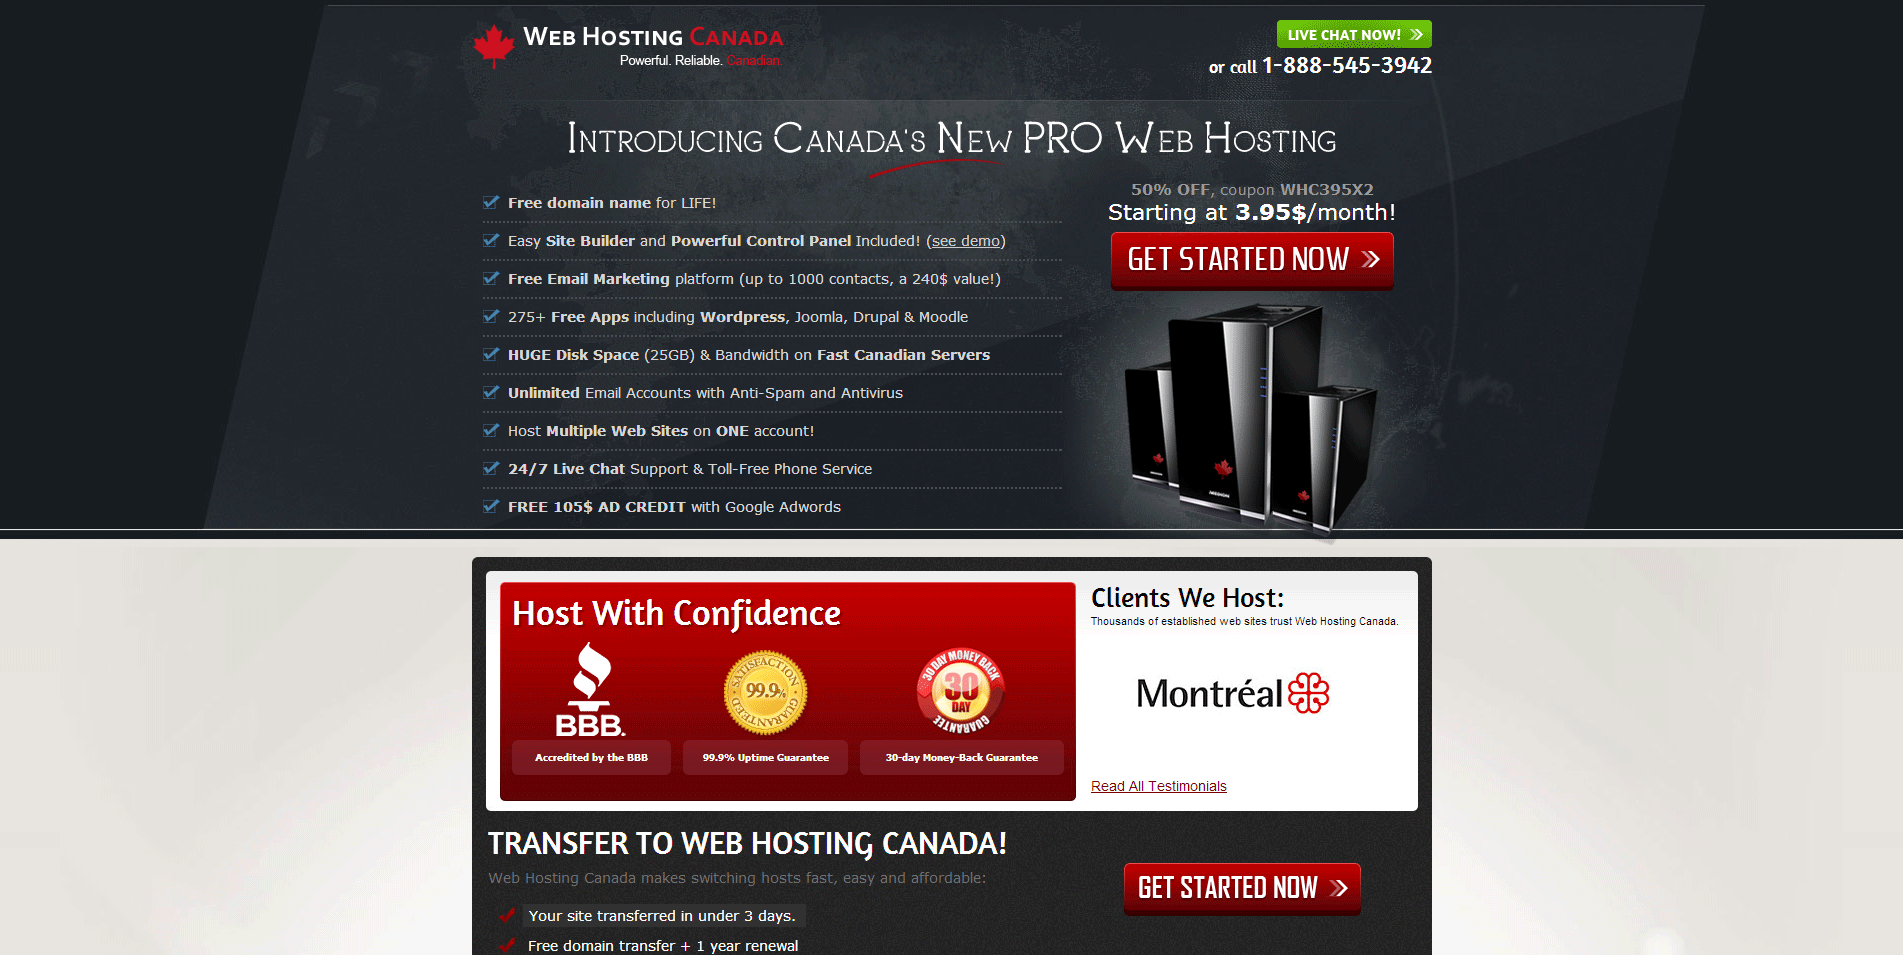
- Visit WHC.ca, and click on the red button GET STARTED NOW
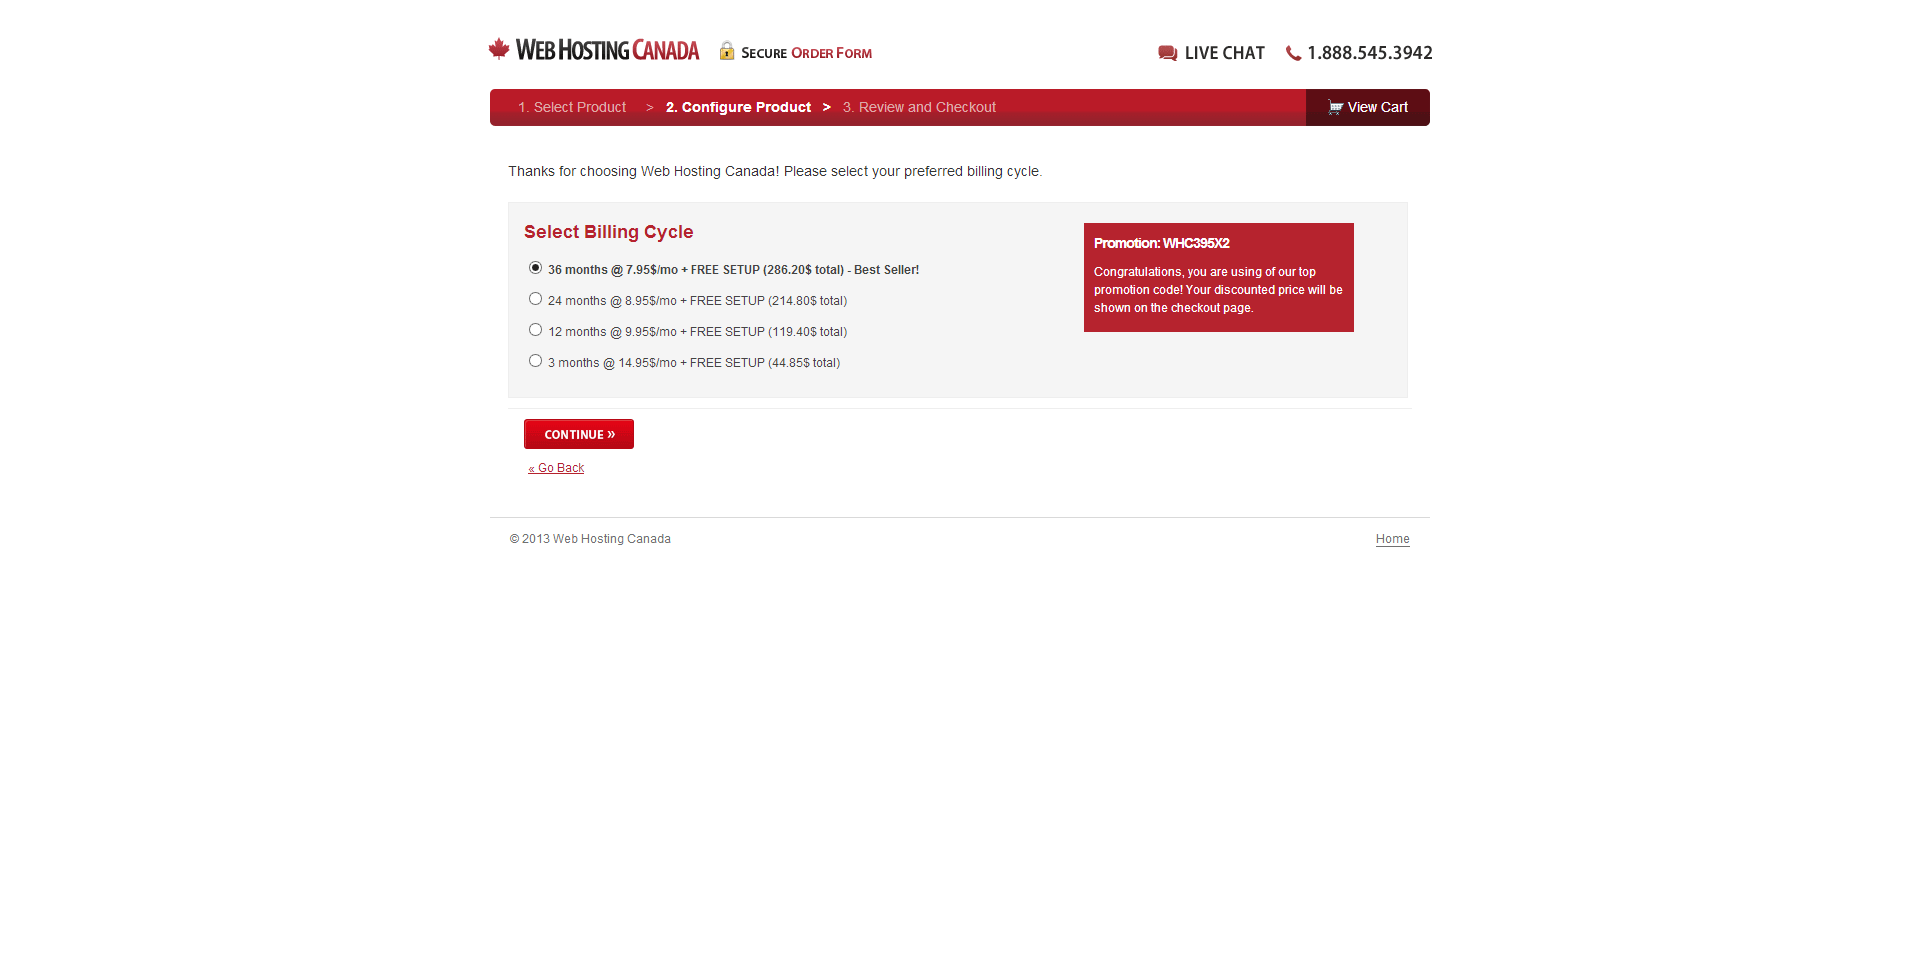
- On the next page, under Select Billing Cycle, choose the term of your account registration. We suggest that you go for 36 months since it reduces your price (btw, don’t worry, the price you see on that page will be reduced by 50% if you used the links on this site);
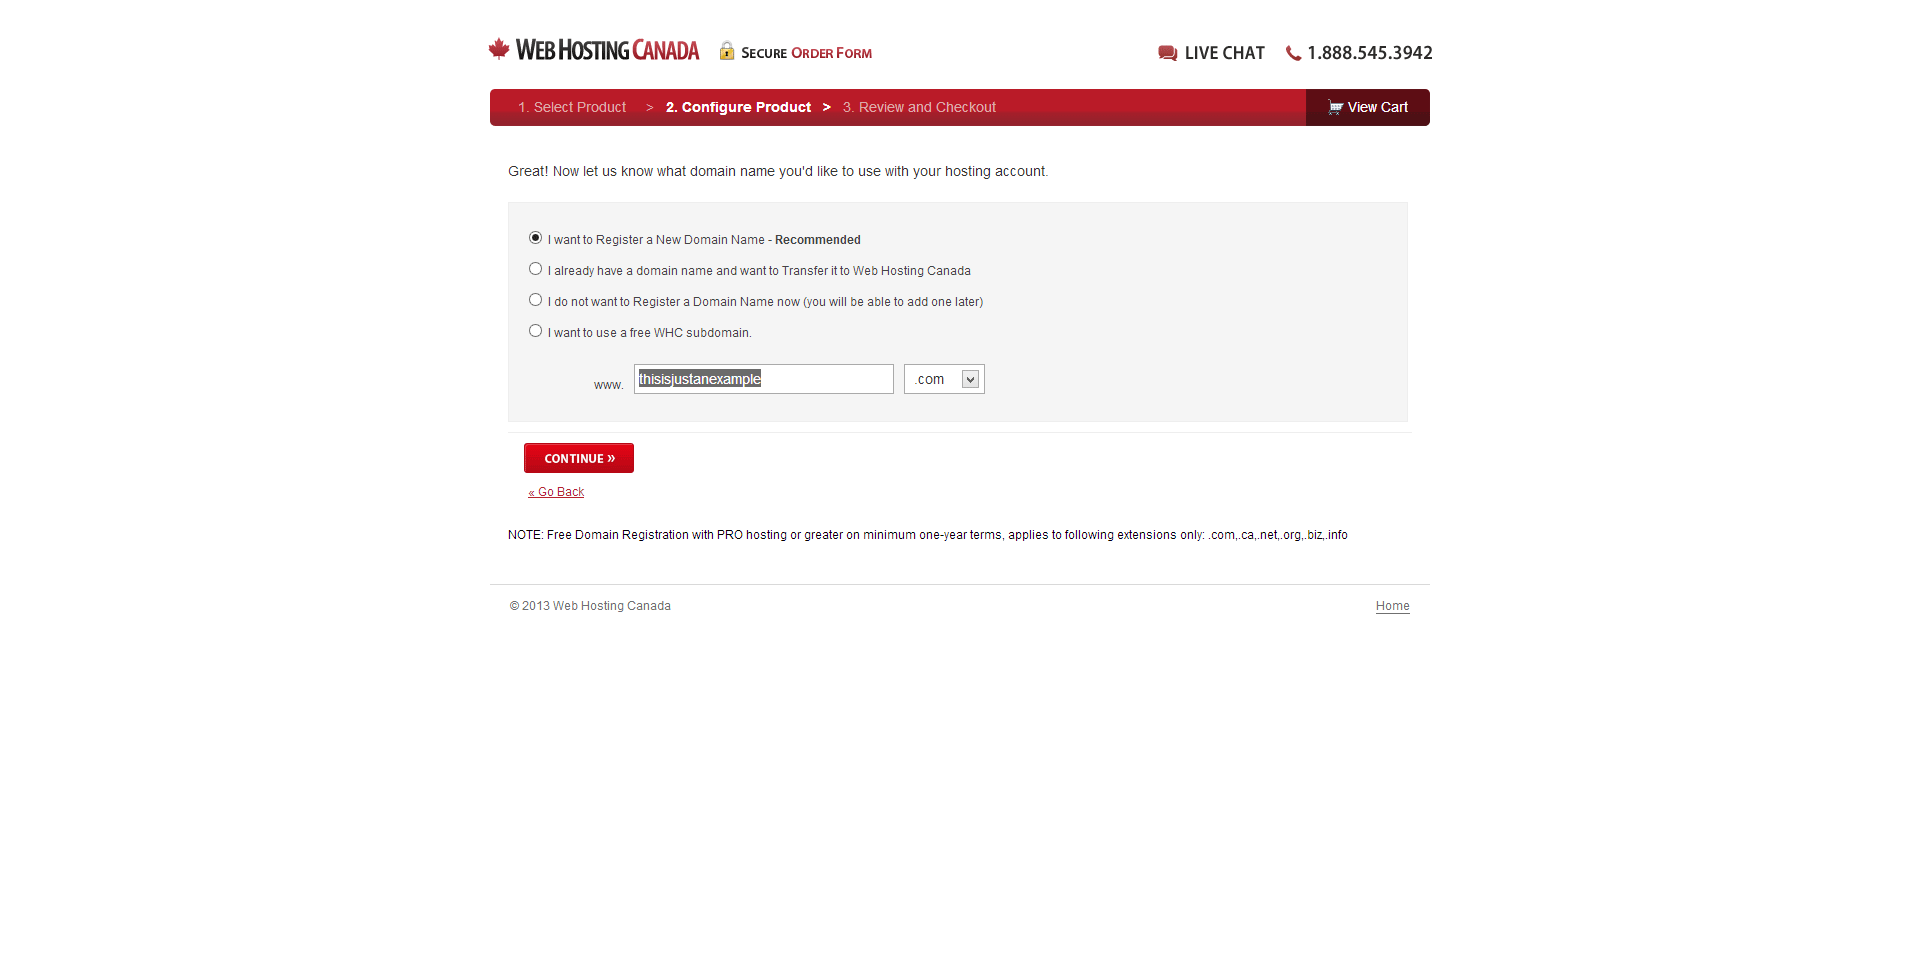
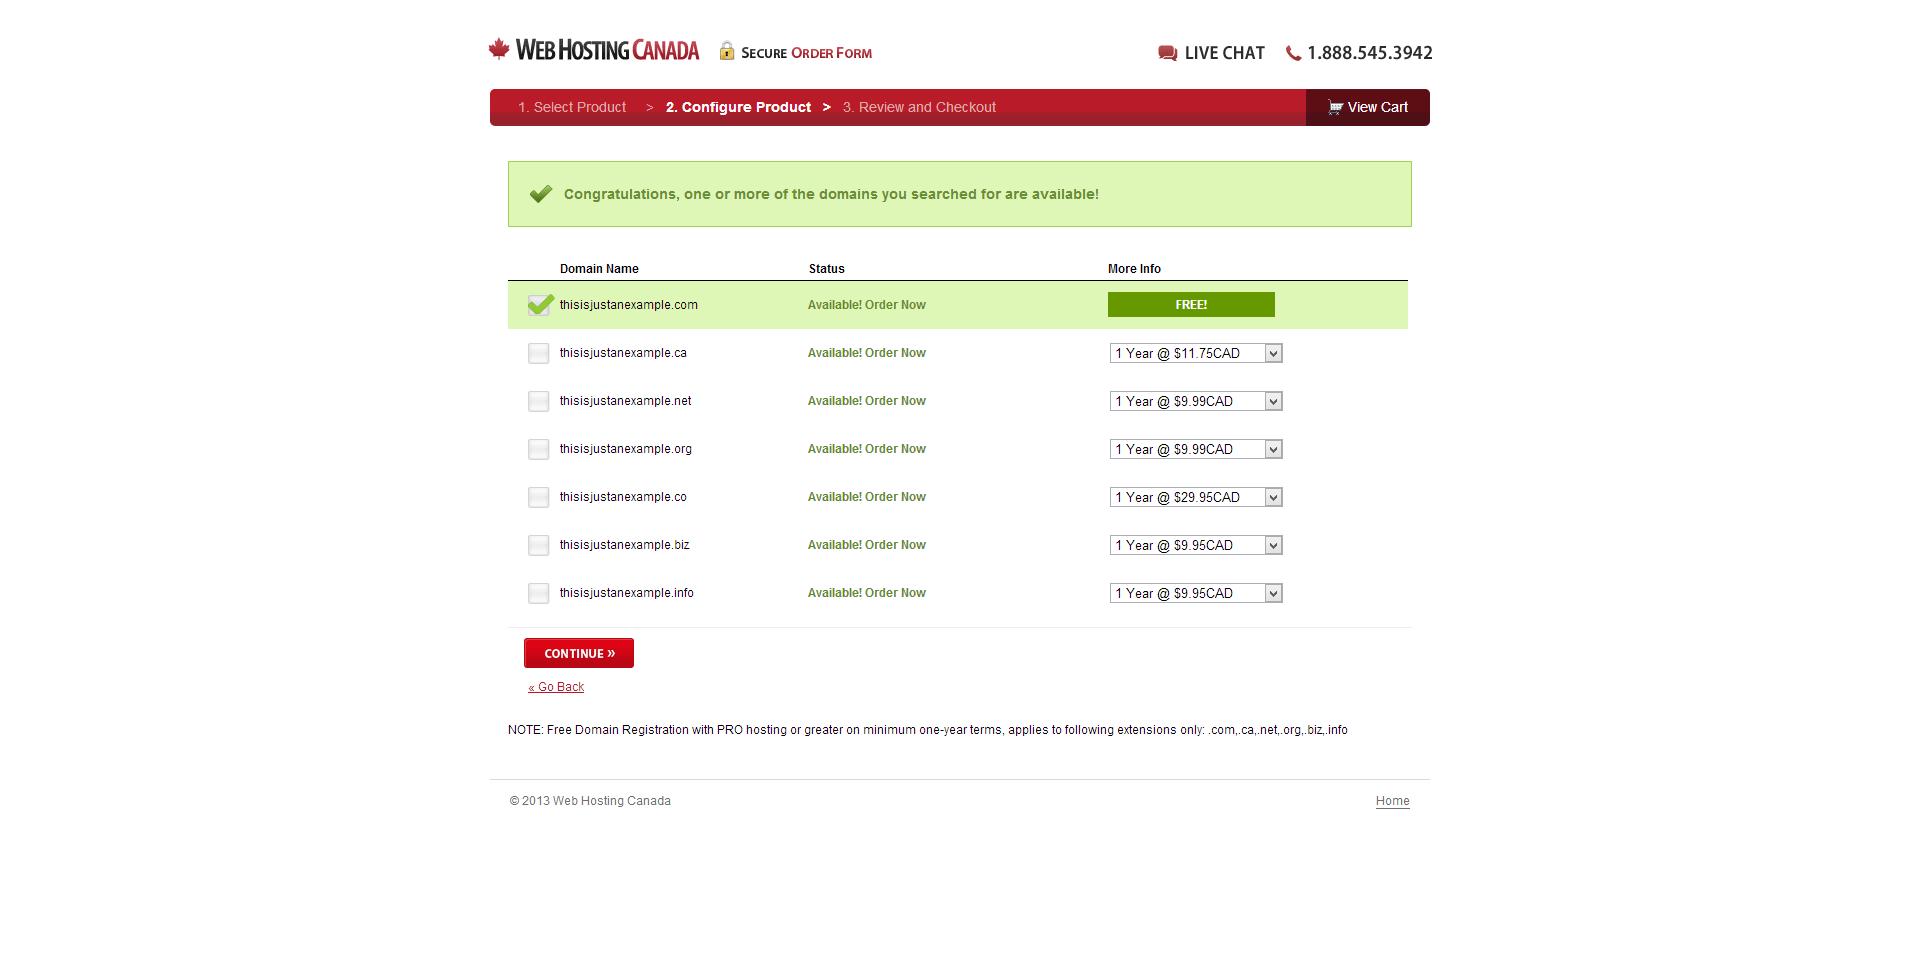
- On the next page, enter the domain you wish to register and use, as well as the domain extension you want ( eg bobthedentist.ca or joethedoctor.com (fictitious names));
- If the selected domain name is already taken, WHC will display a message and suggest you to choose a different name;
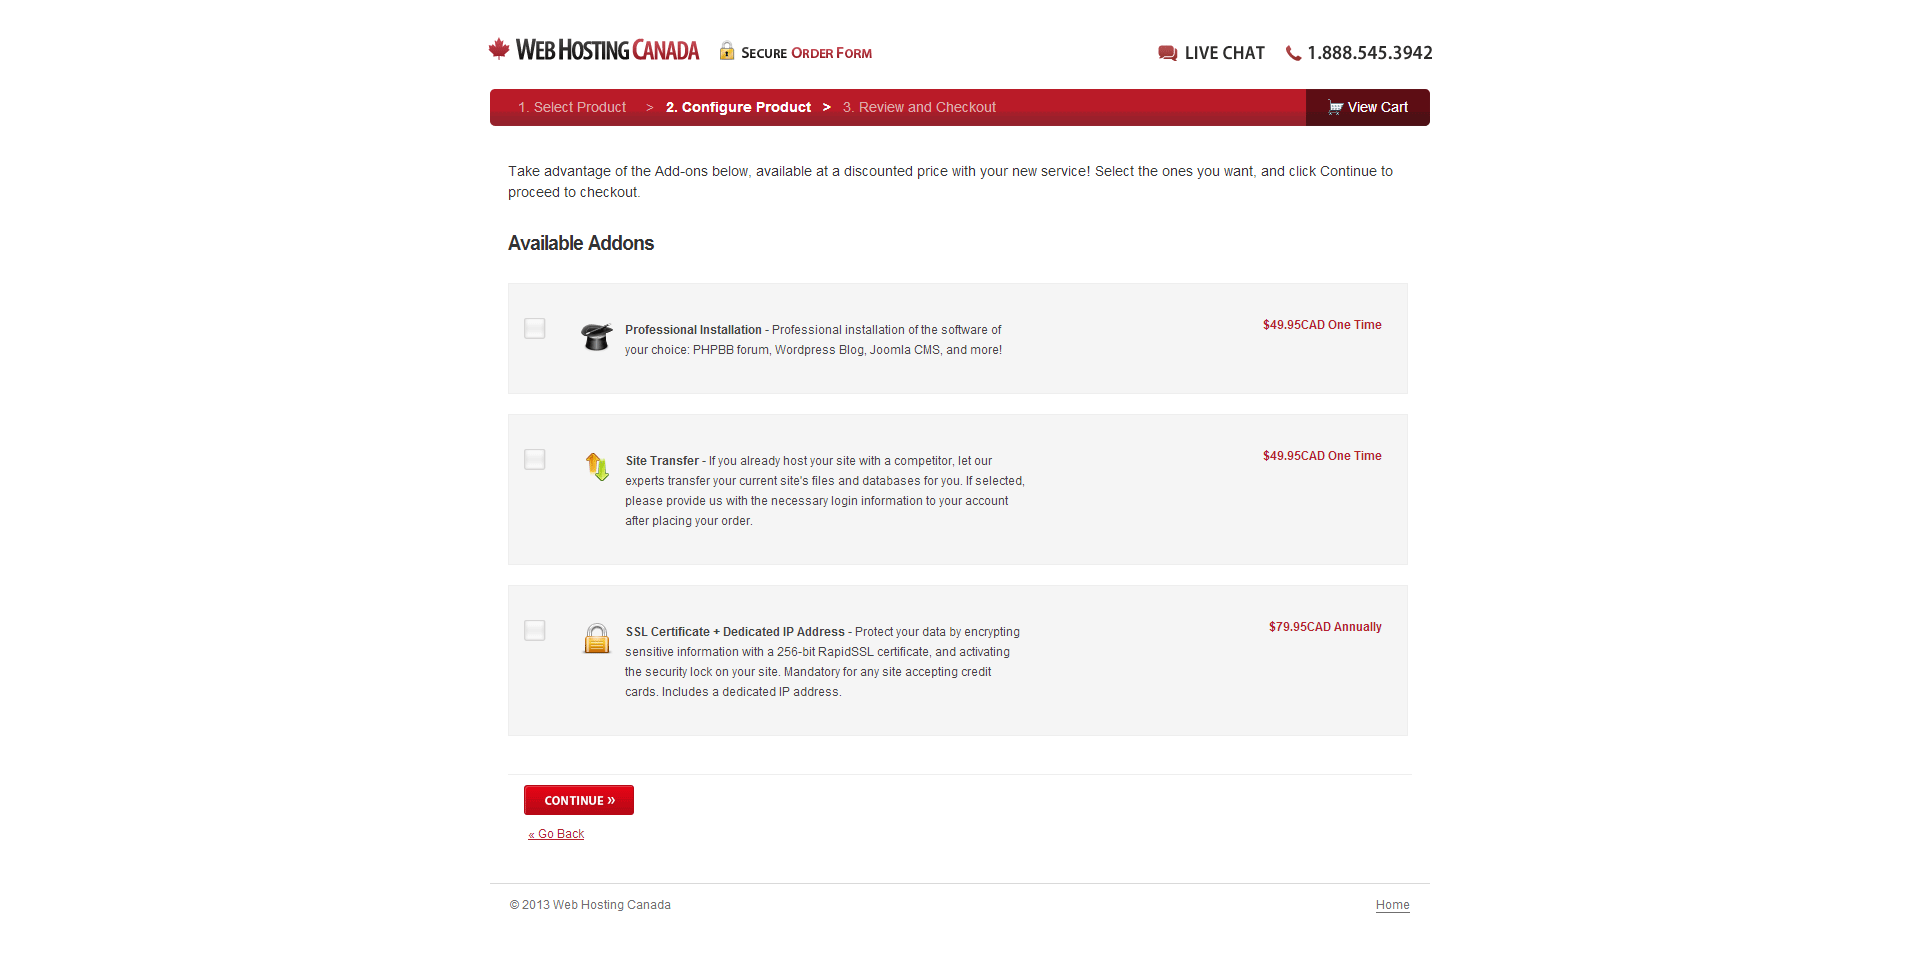
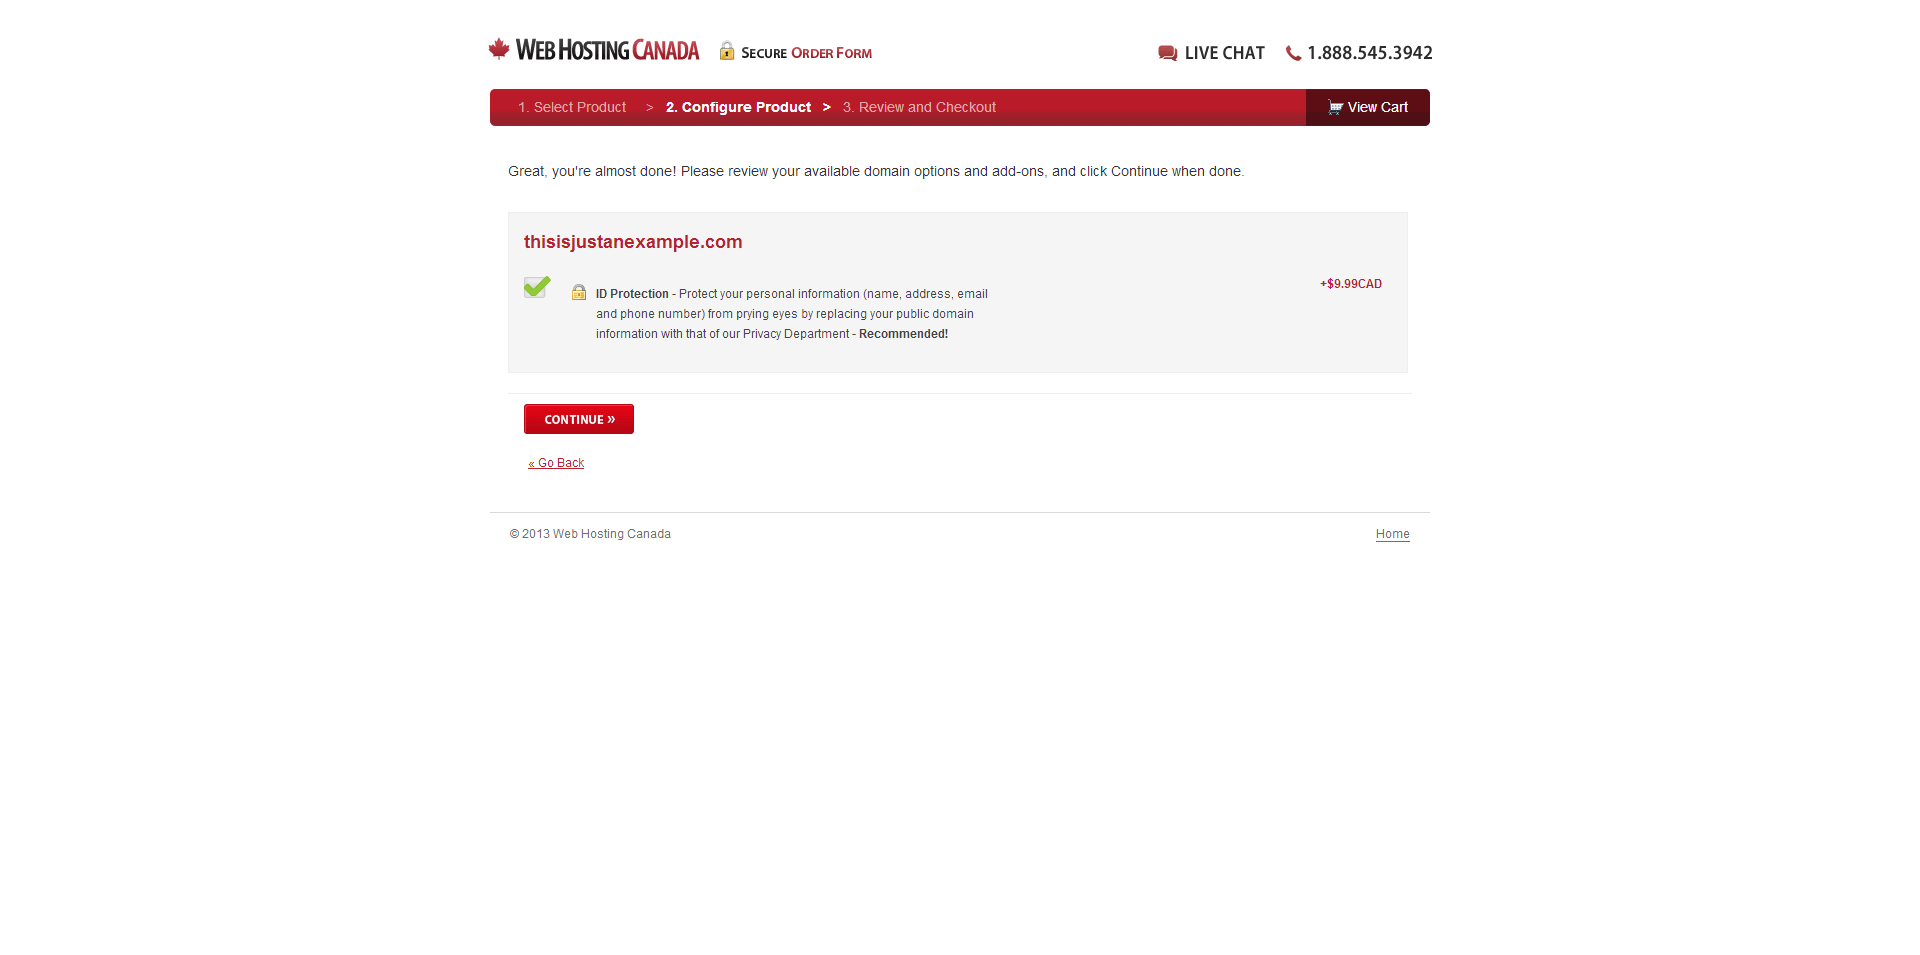
- On the next two pages, you can select some extra add ons to your order. We recommend choosing the ID Protection option so that your personal information is kept private;
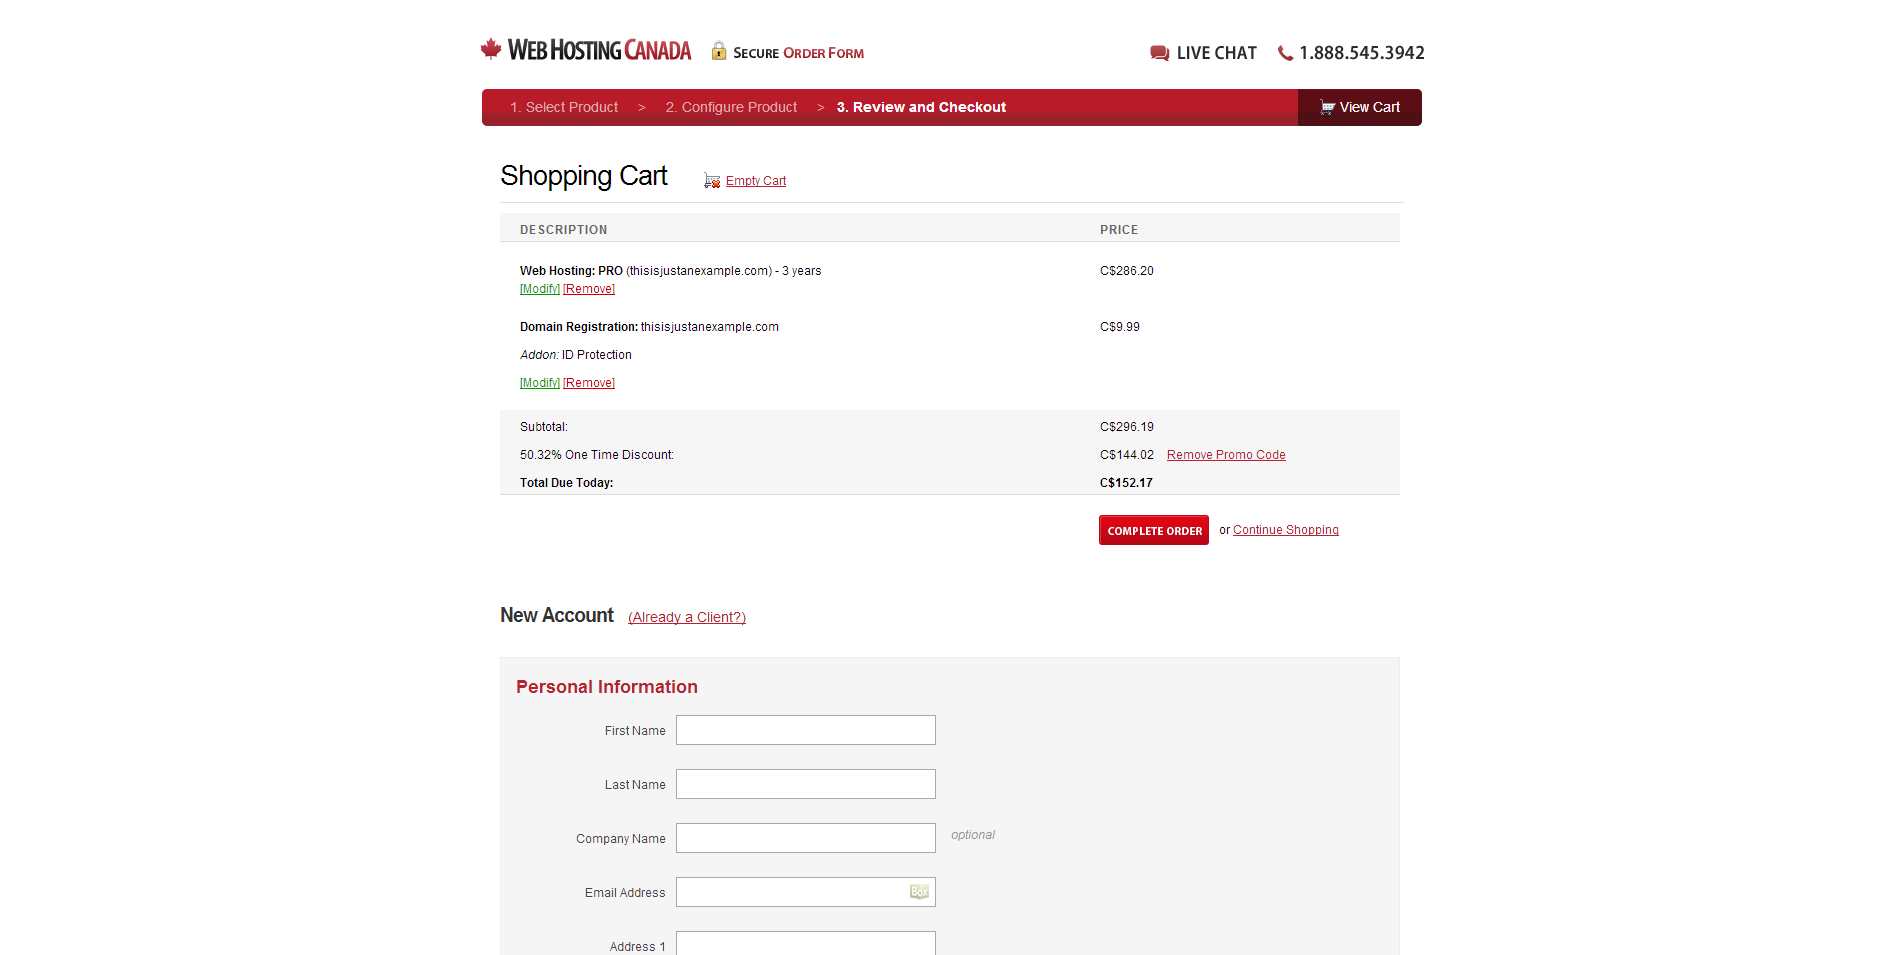
- Once at the next page, you will need to enter your address and payment method to complete your order. You can pay with a credit card or with your Paypal account if you have one. WHC also accepts checks, wire transfers, Interac and Western Union;
- Once everything is filled out, click on Continue at the bottom of the page;
- Congratulations! Your web hosting account on WHC has been created and you have a new domain name. The next step is the installation of WordPress.
2. Installing WordPress with cPanel and Softaculous on my domain name
After creating your web hosting account, WHC will send you an email with your account information, including your username and password. You will need this information for the next steps.
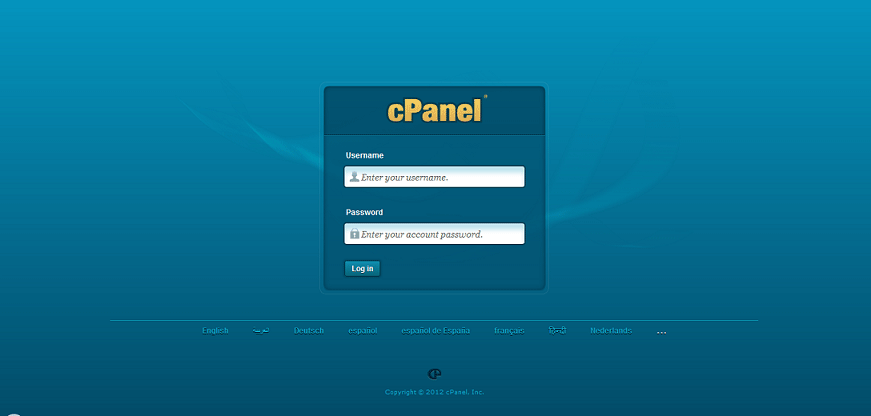
- You must go to your cPanel account. You should have received the link to get there in the email WHC sent you. Your cPanel account is generally accessible yourwebsite.com/cpanel (replace yourwebsite.com by your domain name);
- Enter your username and password to access your cPanel account name;
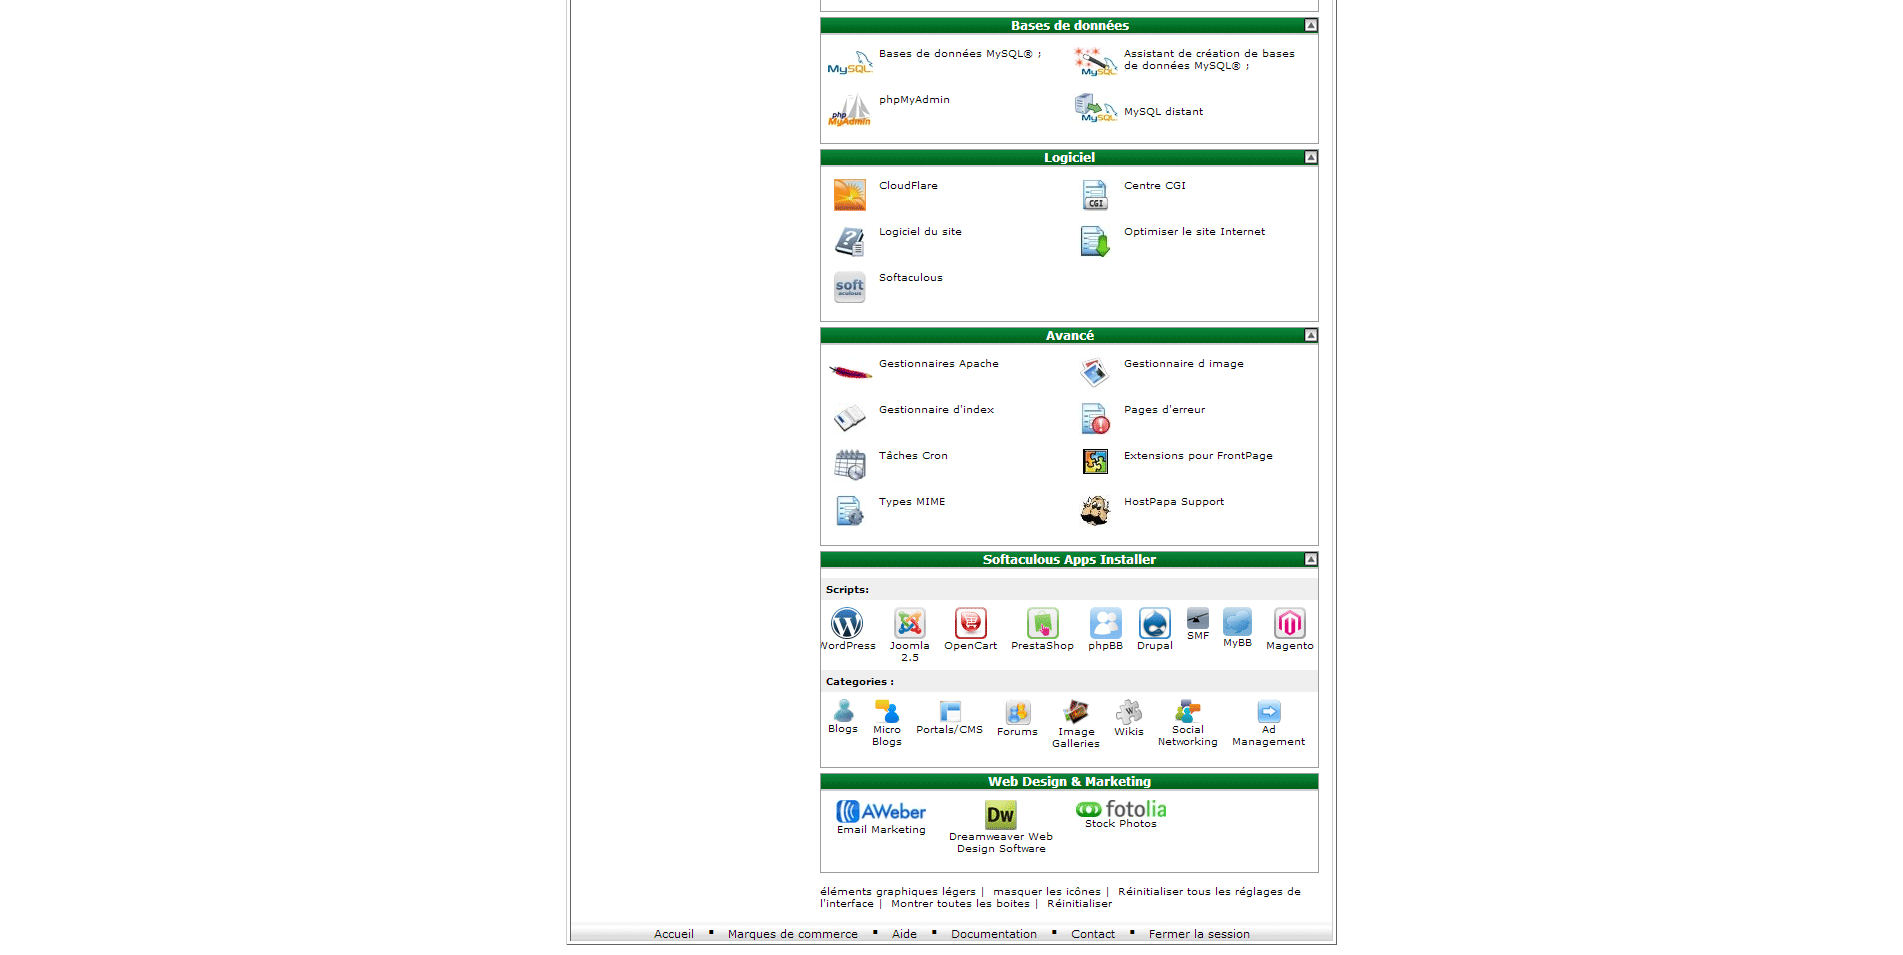
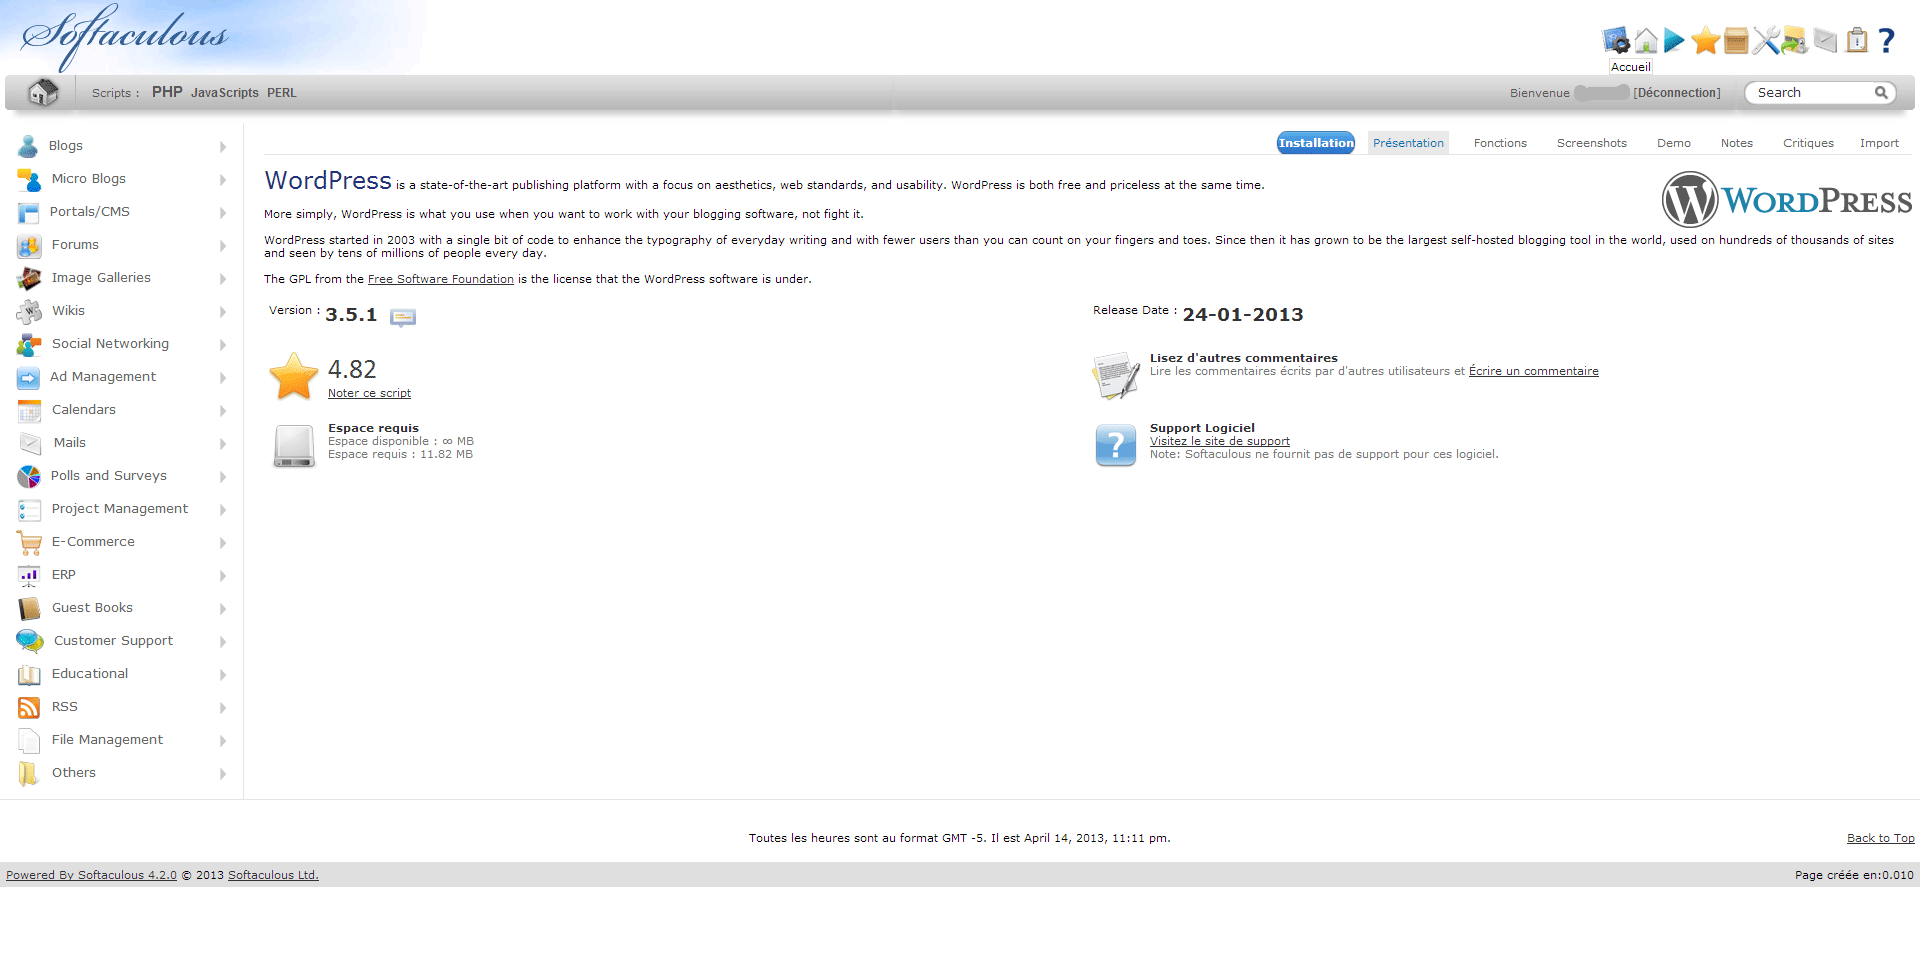
- In your cPanel account, locate the tab Softaculous Apps Installer and click on the WordPress icon;
- On the next page, click on the Install button at the top right of the page;
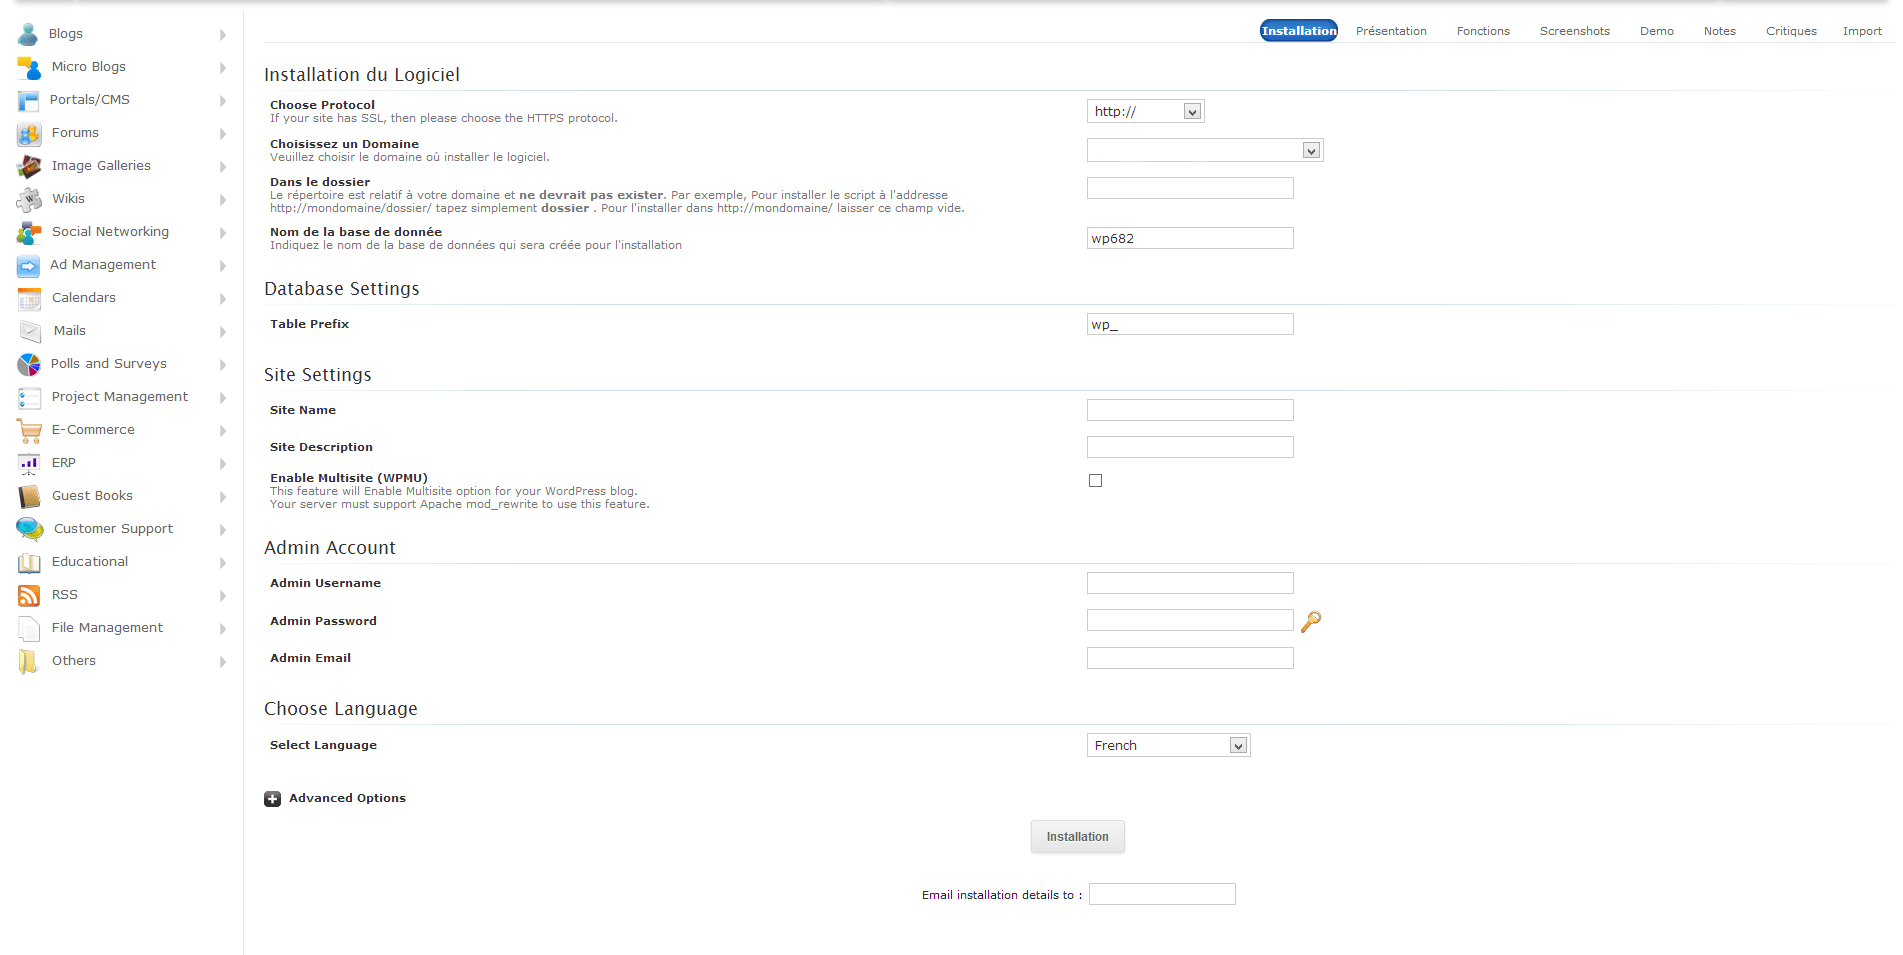
- Now you need to enter the information for your new WordPress blog. Most of the fields are already filled in for you. You should however change: the “Site Name” which is the title you want to give your site and the “Site Description” where you can write a short description of your site;
- Enter a user name to access the control panel of your future WordPress blog, a password and your email address in the “Admin Username, Password and Admin Admin Email” fields respectively;
- Choose the language of your website in the “Select Language” field;
- Once you have finished entering all the information, click on the “Install” button at the bottom of the page;
- Congratulations! Your WordPress blog is now installed on your domain name. Check it out to see what your site looks like. The next steps will be to customize your blog and add content.
Visit our Guides page for other practical articles to help you in the online world.
